There are certain desserts that instantly bring back happy memories, and Vanilla Dot Cakes are one of them. The smell of vanilla baking in the oven has a way of making a house feel warm and inviting. I still remember the excitement of seeing colorful sprinkles on top of a freshly frosted cake at family birthdays and school celebrations. Those simple moments inspired my love for baking, and this recipe captures that same comforting feeling.
Vanilla Dot Cakes are soft, moist, and filled with rich vanilla flavor. The combination of vanilla bean paste, butter, coconut oil, and buttermilk creates a delicate crumb that stays tender for days. Topped with a silky cream cheese icing and colorful nonpareils, this cake feels both nostalgic and elegant at the same time.
Whether you’re baking for a birthday, a family gathering, or simply because you’re craving a homemade dessert, Vanilla Dot Cakes are guaranteed to bring smiles to the table.
Overview of Recipe
Vanilla Dot Cakes are a classic vanilla sheet cake topped with a creamy vanilla cream cheese frosting and finished with colorful nonpareils. The result is a beautiful dessert that looks festive while remaining surprisingly easy to prepare.
What makes this recipe special is the combination of several vanilla ingredients. The vanilla bean paste adds a deep flavor and those beautiful little specks throughout the cake and frosting. Meanwhile, buttermilk helps create a soft texture that melts in your mouth.
The cake itself is light, fluffy, and moist. The frosting adds a rich and slightly tangy contrast that balances the sweetness perfectly. Every bite delivers creamy frosting, tender cake, and a subtle crunch from the sprinkles.
This recipe is also ideal for preparing ahead because it stores well and tastes just as delicious the next day.
Ingredients
For the Vanilla Cake
• 2 cups cake flour (240 g)
• 1 teaspoon baking powder
• 1/2 teaspoon baking soda
• 1/2 teaspoon salt
• 85 g coconut oil, room temperature
• 85 g unsalted butter, room temperature
• 1 1/4 cups granulated sugar (250 g)
• 4 large egg whites
• 1 tablespoon vanilla bean paste
• 1 teaspoon pure vanilla extract
• 1/2 teaspoon imitation vanilla extract (optional)
• 1/2 teaspoon almond extract (optional)
• 1 cup buttermilk (240 ml)
For the Cream Cheese Icing
• 1 stick unsalted butter (113 g), softened
• 8 ounces cream cheese (226 g), softened
• 1/2 teaspoon salt
• 1/2 teaspoon almond extract (optional)
• 2 tablespoons vanilla bean paste or 1 teaspoon vanilla extract
• 4 cups powdered sugar
For the Topping
• 1/4 cup nonpareils
Necessary Tools for Preparation
You’ll need a few basic baking tools to make Vanilla Dot Cakes successfully.
• 9 x 13-inch baking pan
• Parchment paper
• Large mixing bowl
• Medium mixing bowl
• Stand mixer or hand mixer
• Measuring cups and spoons
• Rubber spatula
• Offset spatula for frosting
• Cooling rack
• Toothpick for testing doneness
Having everything ready before you start will make the baking process much smoother.
Ingredient Additions and Substitutions
One of the best things about Vanilla Dot Cakes is how flexible the recipe can be.
• Replace buttermilk with 1 cup whole milk mixed with 1 tablespoon lemon juice or vinegar.
• Use all butter instead of coconut oil for a richer flavor.
• Substitute gluten-free baking flour for a gluten-free version.
• Skip the almond extract if you prefer a pure vanilla taste.
• Add white chocolate chips for extra sweetness.
• Fold rainbow sprinkles into the batter for a funfetti-style cake.
• Use mascarpone instead of cream cheese for a milder frosting.
• Top with fresh berries for a colorful finish.
• Replace vanilla bean paste with additional vanilla extract if needed.
• Use dairy-free butter and cream cheese alternatives for a dairy-free option.
Step-by-Step Instructions
Step 1: Prepare the Pan and Oven
Preheat your oven to 350°F (180°C).
Line a 9 x 13-inch baking pan with parchment paper, leaving a slight overhang on the sides. This makes removing the cake much easier after baking.
Set the prepared pan aside while you make the batter.
Step 2: Mix the Dry Ingredients
In a medium bowl, whisk together:
• 2 cups cake flour
• 1 teaspoon baking powder
• 1/2 teaspoon baking soda
• 1/2 teaspoon salt
Whisk thoroughly to distribute the leavening agents evenly throughout the flour. This helps the cake rise consistently.
Set the bowl aside.
Step 3: Cream the Butter, Oil, and Sugar
In the bowl of a stand mixer fitted with the paddle attachment, combine:
• 85 g butter
• 85 g coconut oil
• 1 1/4 cups granulated sugar
Beat on medium-high speed for about 5 minutes.
The mixture should become noticeably lighter in color and fluffy in texture. This step incorporates air into the batter, which helps create a soft and tender cake.
Stop halfway through and scrape down the sides of the bowl.
Step 4: Add the Egg Whites
With the mixer running on low speed, slowly pour in the 4 egg whites.
Once all the egg whites are added, increase the speed slightly and continue mixing for 1 to 2 minutes.
The batter should appear smooth, creamy, and fully combined.
Step 5: Add the Flavorings
Add:
• 1 tablespoon vanilla bean paste
• 1 teaspoon vanilla extract
• 1/2 teaspoon imitation vanilla extract, if using
• 1/2 teaspoon almond extract, if using
Mix until the ingredients are evenly incorporated.
At this stage, the batter will already smell incredible thanks to the combination of vanilla flavors.
Step 6: Alternate the Dry Ingredients and Buttermilk
Reduce the mixer speed to low.
Add one-third of the flour mixture and mix just until incorporated.
Pour in half of the buttermilk and mix again.
Continue alternating:
• Another third of the flour mixture
• Remaining buttermilk
• Final third of the flour mixture
Mix only until no dry streaks remain.
Overmixing can lead to a dense cake, so stop as soon as everything is combined.
Step 7: Fill the Pan
Pour the finished batter into the prepared baking pan.
Use a spatula to spread the batter into an even layer, making sure it reaches all corners of the pan.
Tap the pan gently on the counter to release any trapped air bubbles.
Step 8: Bake the Cake
Place the pan in the preheated oven.
Bake for approximately 30 minutes.
The cake is done when:
• The top springs back lightly when touched.
• A toothpick inserted into the center comes out clean.
• The edges begin pulling slightly away from the sides of the pan.
Avoid opening the oven door too early, as this can affect the cake’s rise.
Step 9: Cool the Cake
Remove the cake from the oven and place it on a cooling rack.
Allow it to cool in the pan for about 15 minutes.
Then carefully lift it out using the parchment paper and let it cool completely for another 30 minutes.
The cake must be fully cooled before frosting.
Step 10: Make the Cream Cheese Icing
In a large bowl, beat together:
• 1 stick softened butter
• 8 ounces softened cream cheese
Mix until completely smooth and creamy.
Add:
• 1/2 teaspoon salt
• 1/2 teaspoon almond extract, if using
• 2 tablespoons vanilla bean paste
Continue mixing until fully incorporated.
Gradually add the 4 cups powdered sugar, one cup at a time, beating after each addition.
The frosting should become smooth, fluffy, and spreadable.
Step 11: Frost the Cake
Spread the cream cheese icing evenly over the cooled cake using an offset spatula.
Take your time creating a smooth layer across the entire surface.
The frosting should completely cover the cake from edge to edge.
Step 12: Add the Signature Dots
Sprinkle the 1/4 cup nonpareils evenly over the frosting.
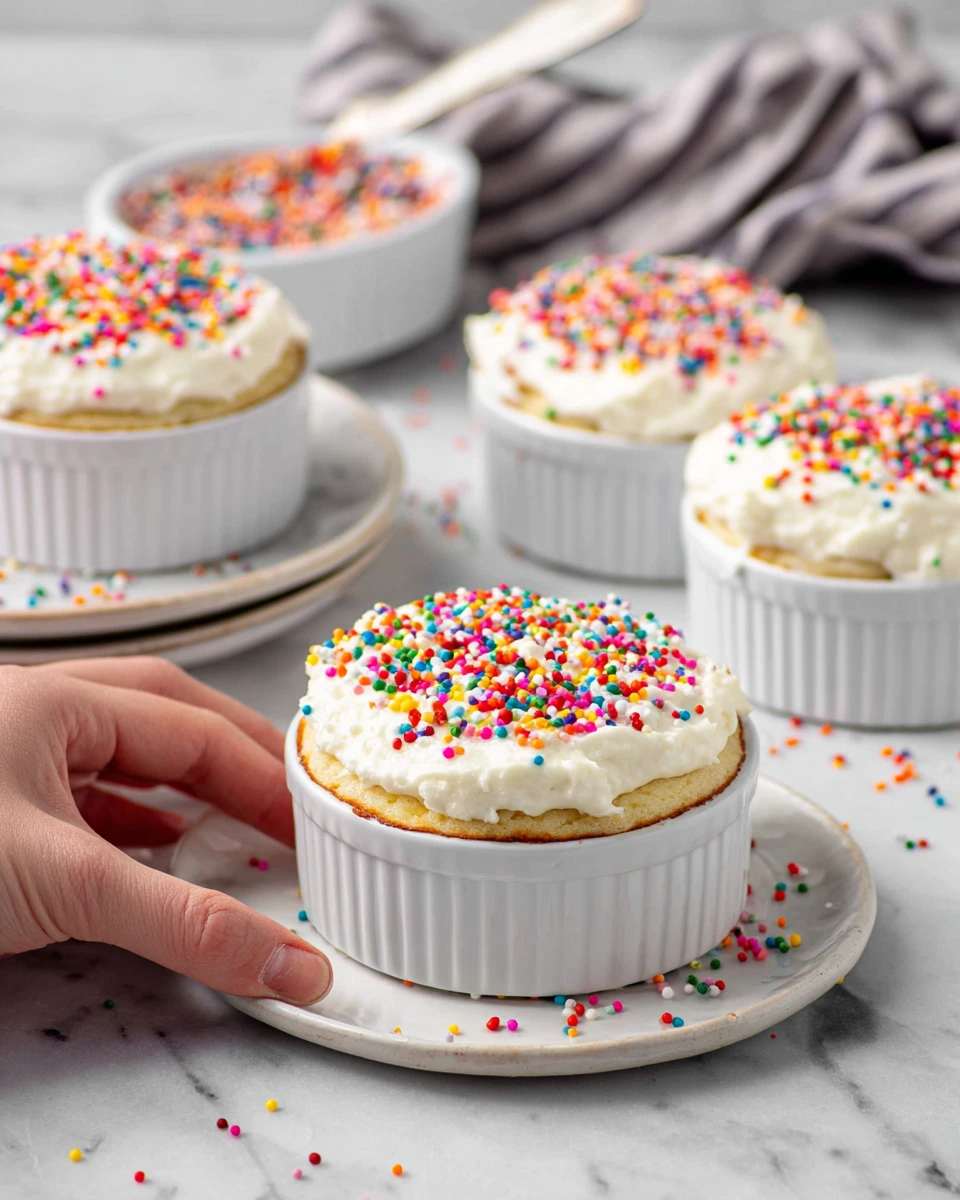
The colorful sprinkles create the classic dotted appearance that gives Vanilla Dot Cakes their charming look.
Step 13: Slice and Serve
Allow the frosting to set for a few minutes.
Cut into squares or rectangles and serve.
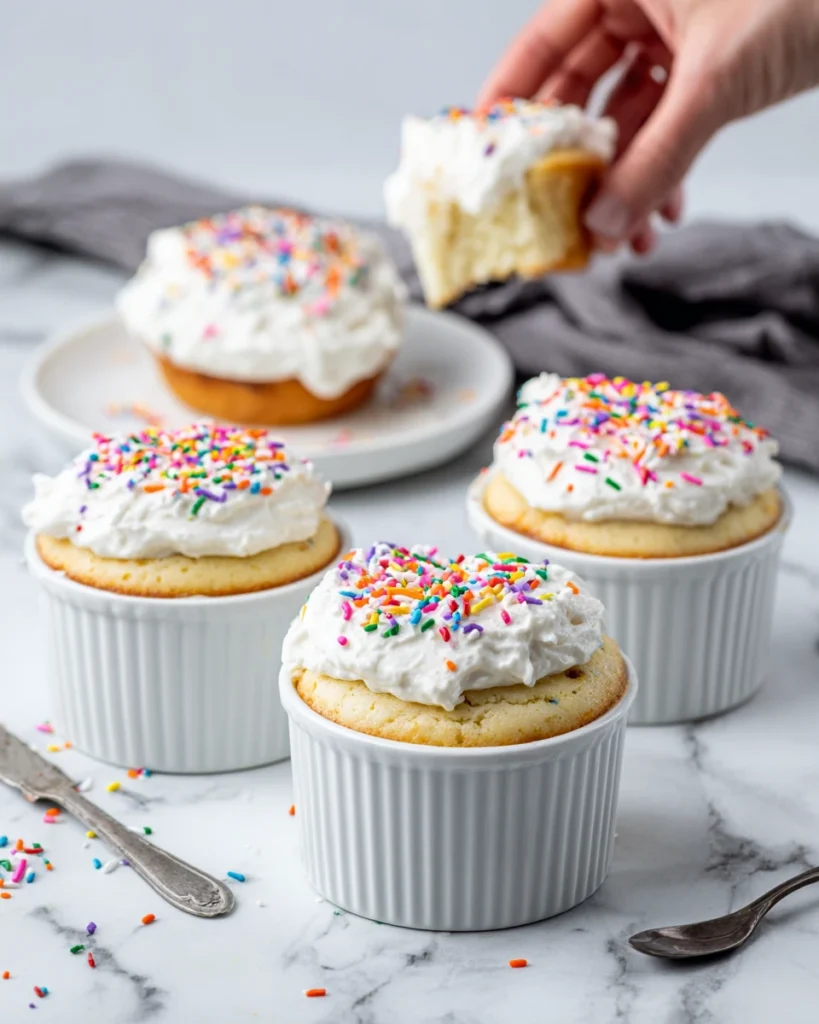
Every slice should reveal a soft vanilla cake topped with creamy frosting and colorful dots.
Tips for Making It
Always use room-temperature butter, cream cheese, egg whites, and buttermilk. This creates a smoother batter and more even texture.
Measure flour carefully. Too much flour can make the cake dry.
Do not rush the creaming step. Beating the butter, oil, and sugar properly creates a lighter cake.
If you want a stronger vanilla flavor, add an extra teaspoon of vanilla bean paste.
For perfectly clean slices, refrigerate the frosted cake for 20 minutes before cutting.
Store leftover frosting in the refrigerator and use it as a topping for cupcakes or cookies.
Storage Instructions
Store Vanilla Dot Cakes covered in the refrigerator because of the cream cheese frosting.
The cake will stay fresh for up to 5 days when properly stored in an airtight container.
For longer storage, wrap individual slices tightly in plastic wrap and place them in a freezer-safe container. Freeze for up to 3 months.
Thaw overnight in the refrigerator before serving.
For the best flavor and texture, allow refrigerated slices to sit at room temperature for about 15 to 20 minutes before enjoying.
General Information
Vanilla cake has long been one of the most beloved desserts in American baking. Its simple flavor makes it incredibly versatile and perfect for birthdays, holidays, and celebrations of every kind.
Vanilla bean paste has become increasingly popular among bakers because it delivers intense vanilla flavor while adding beautiful specks throughout cakes and frostings. These tiny flecks create the appearance of a bakery-quality dessert without any complicated techniques.
The colorful nonpareils used on Vanilla Dot Cakes add both visual appeal and a nostalgic touch. Many people associate these sprinkles with childhood birthday cakes, making this dessert especially comforting and memorable.
Frequently Asked Questions
Can I make Vanilla Dot Cakes a day ahead?
Yes. In fact, many people find the flavor improves slightly after resting overnight. Store the cake covered in the refrigerator and frost it either the same day or the following day.
Can I freeze Vanilla Dot Cakes?
Absolutely. Wrap individual slices tightly and freeze them for up to 3 months. Thaw overnight in the refrigerator before serving.
Can I make this recipe without almond extract?
Yes. The almond extract is completely optional. The cake will still have a rich and delicious vanilla flavor without it.
Why is buttermilk used in this recipe?
Buttermilk adds moisture, tenderness, and a slight tang that enhances the overall flavor while helping create a softer crumb.
Conclusion
Vanilla Dot Cakes are the kind of dessert that never goes out of style. They combine a fluffy vanilla cake, rich cream cheese frosting, and cheerful sprinkles into one beautiful treat that feels both nostalgic and timeless. The recipe is simple enough for everyday baking yet special enough for celebrations and gatherings.
Once you take your first bite, you’ll understand why this cake has become a favorite for so many home bakers. Soft, creamy, and packed with vanilla flavor, Vanilla Dot Cakes are guaranteed to earn a permanent spot in your dessert collection.
If you enjoyed this recipe and want even more delicious inspiration, follow me on Pinterest: https://www.pinterest.com/AngelinaCooking/
Print
Vanilla Dot Cakes
These Vanilla Dot Cakes are a absolute nostalgic dream. Featuring an incredibly moist, tender cake crumb flavored with an elegant trio of vanilla bean paste, pure vanilla, and a touch of almond extract, they are topped with a velvety cream cheese frosting and festive rainbow nonpareils. It’s the ultimate crowd-pleasing sheet cake for birthdays and celebrations!
- Total Time: 1 hour 30 minutes
- Yield: 8 servings 1x
Ingredients
For the Cake Base:
2 cups cake flour (240g)
1 teaspoon baking powder
1/2 teaspoon baking soda
1/2 teaspoon salt
85g coconut oil, room temperature
85g butter, room temperature
1 1/4 cups granulated sugar (250g)
4 egg whites
1 tablespoon vanilla bean paste
1 teaspoon vanilla extract
1/2 teaspoon imitation vanilla extract (optional)
1/2 teaspoon almond extract (optional)
1 cup buttermilk (240ml)
For the Cream Cheese Icing:
1/2 cup butter (113g / 1 stick)
8 oz cream cheese (226g / 1 stick)
1/2 teaspoon salt
1/2 teaspoon almond extract (optional)
2 tablespoons vanilla bean paste (or 1 teaspoon vanilla)
4 cups powdered sugar
For the Decorating Topping:
1/4 cup multi-colored nonpareils
Instructions
1. Preheat your oven to 350°F (180°C). Line a standard 9 x 13-inch baking pan with parchment paper, leaving a bit of overhang on the sides for easy removal later.
2. In a medium bowl, whisk together the cake flour, baking powder, baking soda, and salt until well blended. Set this dry ingredient mixture aside.
3. In the bowl of a stand mixer fitted with the paddle attachment (or in a large bowl using a hand mixer), combine the room-temperature butter, coconut oil, and granulated sugar. Cream them together on medium-high speed for about 5 minutes until pale, light, and incredibly fluffy. Scrape down the sides of the bowl halfway through.
4. With the mixer running on medium speed, slowly pour in the egg whites. Whip the mixture for 1 to 2 minutes until fully emulsified and well combined.
5. Pour in the vanilla bean paste, vanilla extract, optional imitation vanilla, and optional almond extract. Mix until thoroughly incorporated.
6. Reduce the mixer speed to low. Add one-third of your flour mixture, mixing until just combined. Next, pour in half of the buttermilk. Repeat this alternating pattern, ending with the final third of the dry flour mixture. Mix until just combined to ensure you do not overwork the batter.
7. Spread the smooth cake batter evenly into your prepared 9 x 13-inch pan. Bake for 30 minutes, or until a toothpick inserted into the center comes out completely clean. Let the cake cool completely for about 30 minutes before frosting.
8. To make the icing, beat the butter and cream cheese together until smooth. Add the salt, optional almond extract, and vanilla bean paste. Gradually mix in the powdered sugar until light and fluffy. Spread the icing evenly over the cooled cake and top generously with the nonpareils before slicing into 8 large portions.
Notes
Using a combination of coconut oil and real butter gives this cake the ultimate texture; the oil keeps the crumb incredibly moist for days while the butter provides that rich, classic flavor.
Don’t skip alternating your dry ingredients and buttermilk. Adding them separately prevents the batter from curdling and keeps the finished cake texture perfectly light instead of dense.
If you are looking for that classic, sweet ‘birthday box cake’ aroma from childhood, keeping that half-teaspoon of imitation vanilla in the batter does absolute wonders.
Ensure your cream cheese and butter are truly at room temperature before whipping the icing to completely avoid tiny sugar lumps in your finished frosting.
- Prep Time: 1 hour
- Cook Time: 30 minutes
- Category: Dessert
- Method: Baking
- Cuisine: American
- Diet: Vegetarian
Nutrition
- Serving Size: 1 slice
- Calories: 690
- Sugar: 74g
- Sodium: 490mg
- Fat: 29g
- Saturated Fat: 18g
- Unsaturated Fat: 11g
- Trans Fat: 0.5g
- Carbohydrates: 102g
- Fiber: 1g
- Protein: 6g
- Cholesterol: 55mg
Keywords: vanilla dot cakes, funfetti sheet cake from scratch, homemade birthday cake recipe, vanilla bean cream cheese frosting, easy 9×13 cake