There’s something nostalgic about the scent of buttery crumble and warm cherries filling the kitchen. I remember making fruit bars with my grandmother on summer afternoons, her apron dusted in flour and the cherries just a little too tart but perfect once baked. She believed a good dessert didn’t need to be complicated, just made with love and shared with joy.
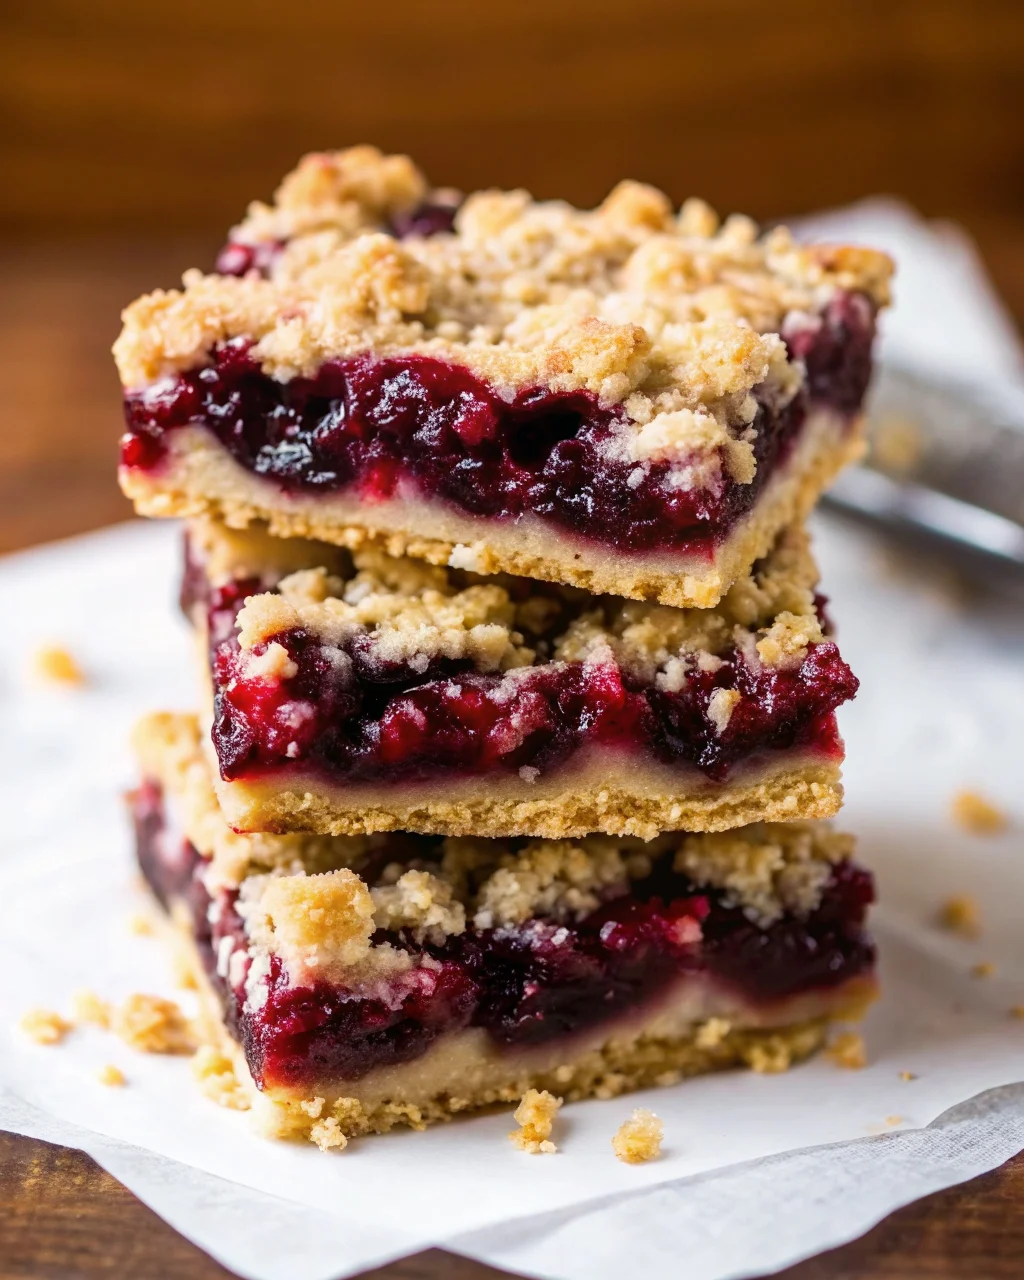
These Cherry Pie Crumb Bars are exactly that. Simple, heartfelt, and designed to delight. With a rich golden crust and jammy cherry filling, each bite melts in your mouth. They’re the kind of easy treat that makes an ordinary day feel like a special occasion. Whether you’re baking for a Fourth of July picnic, a Mother’s Day brunch, or a cozy afternoon snack, these bars are an effortless crowd-pleaser.
Overview of the Recipe
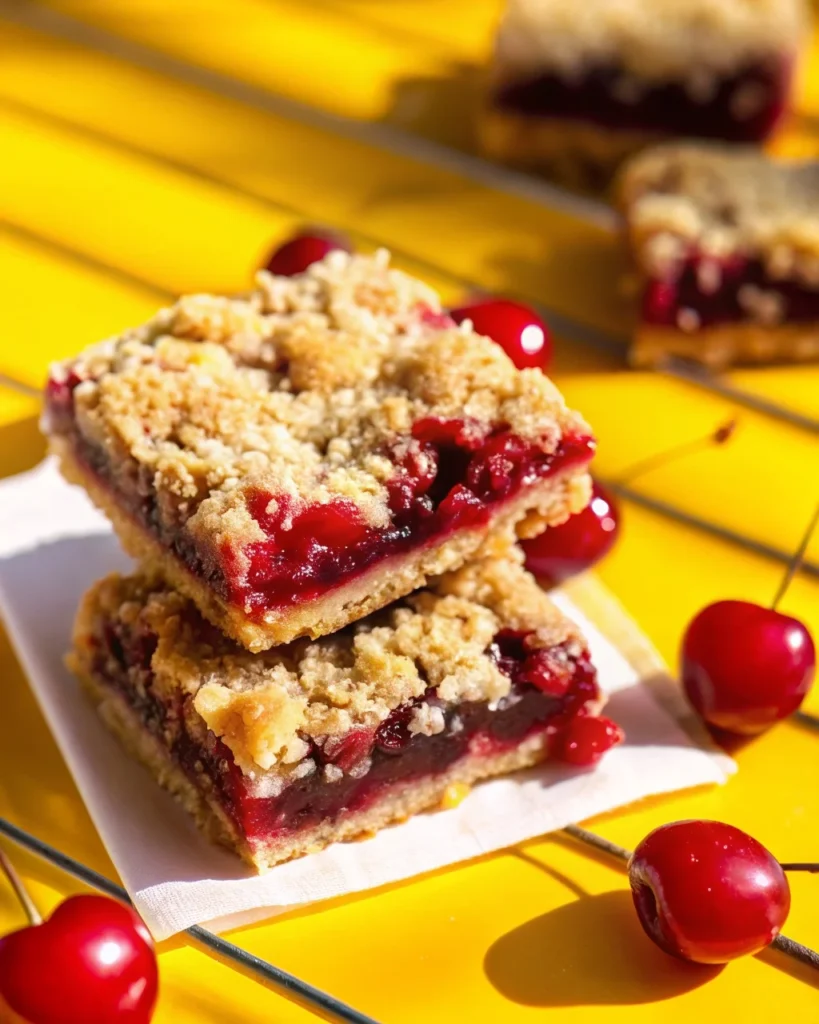
Cherry Pie Crumb Bars blend the familiar flavors of cherry pie with the simplicity of a handheld dessert. You’ll enjoy a tender, buttery base, a vibrant cherry center, and a golden, crumbly topping that adds the perfect crunch.
The flavor is sweet with a gentle tartness. The aroma is fruity and warm, and the texture balances softness with a satisfying bite. These bars are just the thing when you want something that feels homemade, festive, and comforting.
They’re perfect for brunch, dessert tables, or as a treat for birthdays, family dinners, or summer potlucks.
Ingredients List
For the crust and crumble:
- 2½ cups all-purpose flour
- ¾ cup granulated sugar
- 1 teaspoon baking powder
- ½ teaspoon salt
- 2 sticks (1 cup) unsalted butter, cold and cubed
- 1 large egg
- 1 teaspoon vanilla extract
For the cherry filling:
- 3 cups fresh cherries, pitted and halved
- ½ cup granulated sugar
- 1 tablespoon cornstarch
- 1 tablespoon lemon juice
- 1 teaspoon vanilla extract
Necessary Tools for Preparation
To make this recipe smoothly, you’ll need a few kitchen staples:
- Mixing bowls
- Whisk and fork
- Pastry cutter or your fingers
- Measuring cups and spoons
- Sheet pan or a 9×13-inch baking dish
- Parchment paper
- Spatula
- Cooling rack
These tools help make the prep process easy and efficient.
Ingredient Additions & Substitutions
Here are a few simple ways to adapt or elevate the recipe:
- Frozen cherries work well in place of fresh. Be sure to thaw and drain them thoroughly to prevent excess liquid.
- Use refined coconut oil instead of butter for a dairy-free version. It adds a mild tropical note that pairs beautifully with cherries.
- Add a cherry almond twist by replacing ¼ cup of flour with almond flour and mixing in ¼ teaspoon of almond extract.
- For more brightness, stir 1 teaspoon of lemon zest into the filling.
- Make it gluten-free by using a 1:1 gluten-free flour blend designed for baking.
Step-by-Step Instructions
Step 1
In a large bowl, whisk together the flour, sugar, baking powder, and salt.
Step 2
Add the cold cubed butter and work it into the flour mixture using your fingers or a pastry cutter until it resembles coarse crumbs.
Step 3
Lightly beat the egg with vanilla extract. Stir this into the flour-butter mixture. The texture should stay crumbly but hold together slightly when pressed.
Step 4
Preheat the oven to 375°F (190°C). Line a baking dish or sheet pan with parchment paper for easy removal and clean slicing.
Step 5
Press about two-thirds of the crumb mixture firmly into the pan to form the crust.
Step 6
In a separate bowl, toss the pitted cherries with sugar, cornstarch, lemon juice, and vanilla until evenly coated.
Step 7
Spread the cherry mixture over the crust. Sprinkle the remaining crumb mixture evenly over the top.
Step 8
Bake for 40 to 45 minutes, until the topping is golden and the filling is bubbling.
Step 9
Let the bars cool completely before slicing. This helps them set and hold their shape.
Tips for Making It
Chill the crumb mixture for 10 minutes before topping the bars to maintain a crisp, distinct texture.
Line the pan with parchment paper for easy removal and cleaner slices.
Be gentle when incorporating butter into the flour. The crumb should stay loose and chunky for the best texture.
Let the bars cool fully before cutting. Rushing this step can result in soft or messy slices.
Toss cherries in the cornstarch mixture just before layering to keep the bottom crust from getting soggy.
Storage Instructions
Store any leftover bars tightly covered at room temperature for up to 2 days or refrigerate for up to 5 days. They also freeze well. Place slices between parchment paper in an airtight container and freeze for up to 2 months.
To serve from frozen, let them thaw overnight in the fridge or reheat gently in a 300°F oven for 10 minutes.
General Information
Cherry Pie Crumb Bars are a clever take on the old-fashioned slab pie, which was often baked in rectangular pans for easy slicing and sharing. These bars echo that practicality with a modern twist.
Cherries have been part of American baking traditions for centuries. Paired with a shortbread-like crust and a crumb topping, they create a dessert that’s timeless and universally loved.
FAQs
Why is my crumb topping soft instead of crisp?
This usually happens when the butter is too warm or overmixed. Always use cold butter and mix until just combined to keep the crumble texture.
Can I use canned cherry pie filling?
You can, but the flavor won’t be as fresh or vibrant. If using canned filling, reduce added sugar and skip the cornstarch.
How do I keep the crust from getting soggy?
Toss cherries in cornstarch and lemon just before layering to minimize liquid. Always let the bars cool completely so the filling can set.
Are these bars freezer-friendly?
Yes, they freeze very well. Wrap slices tightly or store in an airtight container with parchment between layers.
Conclusion
These Cherry Pie Crumb Bars are simple to make and full of comforting flavor. They’re perfect for sharing, storing, or gifting, and they bring a bit of summer joy to any occasion.
If you’re in the mood for more fruit-forward treats, check out my strawberry shortcake sheet cake or try these lemon ricotta cookies that melt in your mouth with each bite.
Print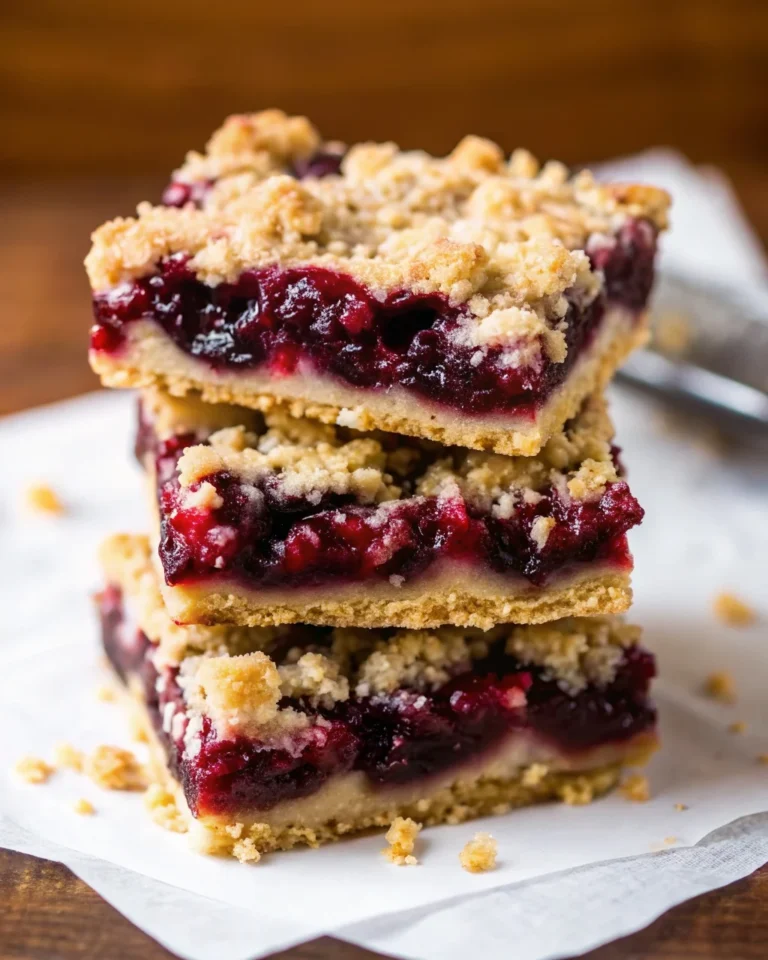
Cherry Pie Crumb Bars (Easy, Shareable, and Irresistible!)
These Cherry Pie Crumb Bars are easy, shareable, and irresistibly delicious. Made with a buttery crust, jammy cherry filling, and a golden crumb topping, they’re the perfect nostalgic treat for brunch, potlucks, or picnics.
- Total Time: 1 hour 5 minutes
- Yield: 12 bars 1x
Ingredients
2½ cups all-purpose flour
¾ cup granulated sugar
1 tsp baking powder
½ tsp salt
2 sticks (1 cup) unsalted butter, cold and cubed
1 large egg
1 tsp vanilla extract
3 cups fresh cherries, pitted and halved
½ cup granulated sugar
1 Tbsp cornstarch
1 Tbsp lemon juice
1 tsp vanilla extract
Instructions
1. In a large bowl, whisk together flour, sugar, baking powder, and salt.
2. Add cold cubed butter and work it into the flour using your fingers or a pastry cutter until it resembles coarse crumbs.
3. Lightly beat the egg with vanilla extract, then stir into the flour-butter mixture until just combined.
4. Preheat oven to 375°F (190°C). Line a 9×13-inch baking dish or sheet pan with parchment paper.
5. Firmly press two-thirds of the crumb mixture into the pan to form the crust layer.
6. In another bowl, toss cherries with sugar, cornstarch, lemon juice, and vanilla extract until evenly coated.
7. Spread the cherry mixture over the crust in an even layer.
8. Sprinkle the remaining crumb mixture evenly on top.
9. Bake for 40–45 minutes, until the top is golden and the cherry filling is bubbling.
10. Cool completely before slicing to allow bars to set properly.
Notes
Use frozen cherries when fresh aren’t in season. Thaw and drain well to avoid sogginess.
Swap butter with refined coconut oil for a dairy-free option.
Add a cherry-almond twist by replacing ¼ cup flour with almond flour and adding ¼ tsp almond extract.
Chilling the crumb mixture for 10 minutes before topping ensures a crisp finish.
Bars can be made ahead and stored in the fridge for up to 5 days or frozen for up to 2 months.
- Prep Time: 20 minutes
- Cook Time: 45 minutes
- Category: Dessert
- Method: Baking
- Cuisine: American
- Diet: Vegetarian
Nutrition
- Serving Size: 1 bar
- Calories: 220
- Sugar: 17g
- Sodium: 90mg
- Fat: 10g
- Saturated Fat: 6g
- Unsaturated Fat: 3g
- Trans Fat: 0g
- Carbohydrates: 30g
- Fiber: 1g
- Protein: 2g
- Cholesterol: 35mg
Keywords: cherry pie crumb bars, easy cherry dessert, potluck treats, brunch ideas