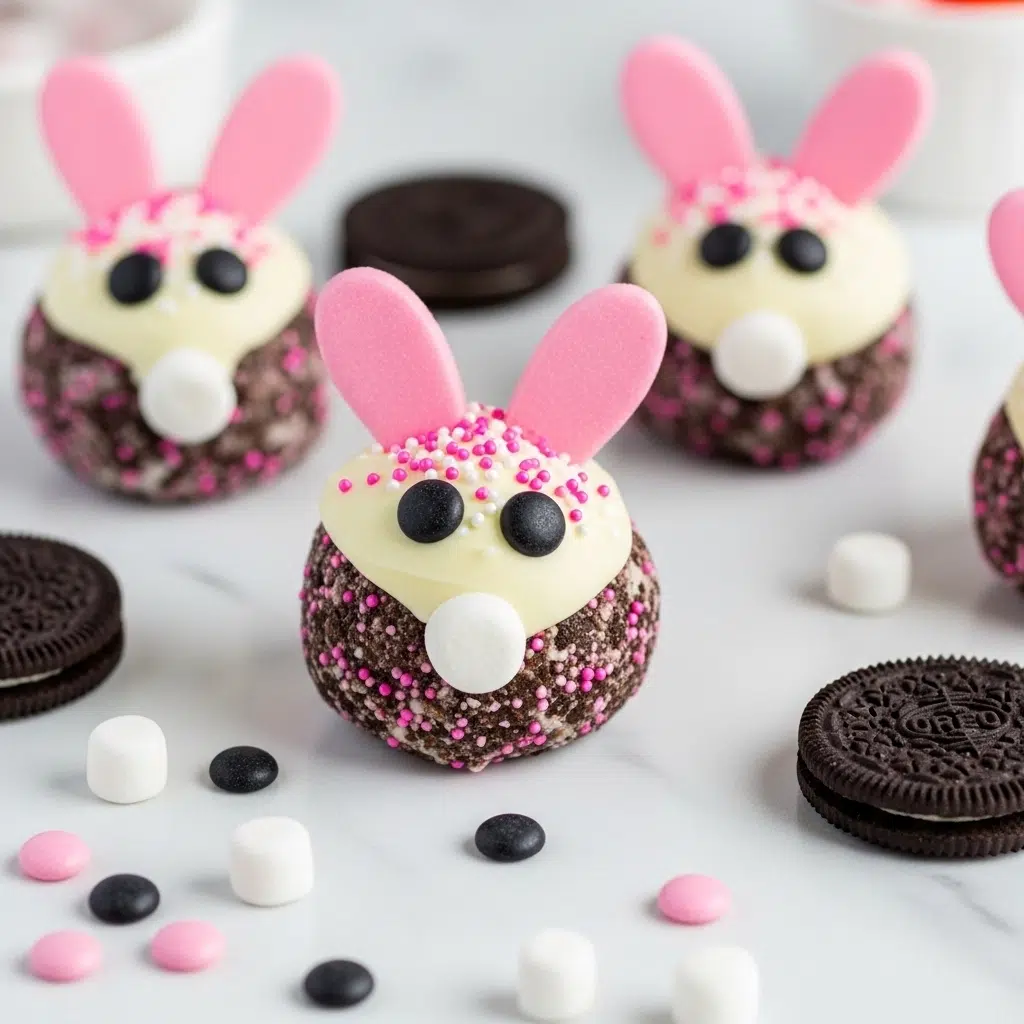
Every Easter season, I find myself searching for a dessert that feels just as cheerful as the holiday itself. A few years ago, while planning treats for a family gathering, I wanted something simple, playful, and sweet enough to make everyone smile. That was when these Bunny Oreo Balls made their first appearance on my dessert table, and they quickly became a tradition.
Bunny Oreo Balls are adorable bite sized truffles made from crushed Oreo cookies and cream cheese, then coated in smooth chocolate and decorated to look like little bunnies. They look impressive, yet they are surprisingly easy to make. Even better, they require no baking at all, which makes them perfect for busy holiday prep or for a fun afternoon activity with kids.
The creamy Oreo center paired with the chocolate shell creates a rich and satisfying bite. Once you add the marshmallow ears and tiny bunny faces, these treats instantly become the star of any Easter dessert spread.
Overview of the Recipe
Bunny Oreo Balls are a festive twist on classic Oreo truffles. The recipe combines crushed Oreo cookies with softened cream cheese to create a smooth and rich filling. Each ball is dipped in melted white chocolate, which gives it a clean and bright finish that works perfectly for bunny decorations.
The texture is one of the best parts of this treat. The inside stays soft and creamy, while the chocolate coating adds a gentle snap. The flavor is deeply chocolatey with a hint of tanginess from the cream cheese, which keeps the dessert from feeling overly sweet.
People love making Bunny Oreo Balls because they are quick, beginner friendly, and incredibly cute. They are perfect for Easter parties, dessert trays, spring celebrations, or even homemade gifts.
Ingredients
• Oreo cookies, one 14.3 ounce package
• Cream cheese, 8 ounces, softened
• White chocolate or white candy melts, 12 ounces
• Pink candy melts, 1/2 cup
• Black candy melts, 1/2 cup
• Mini marshmallows for bunny ears
• Pink sugar sprinkles for decoration, optional
• Edible black food marker for facial details
Necessary Tools for Preparation
• Food processor or rolling pin for crushing cookies
• Mixing bowl
• Spoon or spatula for mixing
• Baking sheet
• Parchment paper
• Microwave safe bowl for melting chocolate
• Fork or dipping tool
• Toothpick or piping bag for decorating
Ingredient Additions and Substitutions
• Golden Oreo cookies can replace classic Oreos if you want a lighter vanilla flavor.
• Dark chocolate or milk chocolate works well instead of white chocolate if you prefer a richer coating.
• Dairy free cream cheese can replace traditional cream cheese for a dairy free option.
• Gluten free sandwich cookies can be used to make the recipe gluten friendly.
• Candy eyes can replace the edible marker for an easier decorating option.
• Shredded coconut can be added to create a fluffy bunny tail.
Step by Step Instructions
Step 1: Crush the Oreo Cookies
Place the Oreo cookies in a food processor and pulse until they turn into very fine crumbs. If you do not have a food processor, place the cookies inside a sealed plastic bag and crush them with a rolling pin. The crumbs should be very fine so the mixture blends smoothly.
Step 2: Mix the Filling
Transfer the Oreo crumbs into a mixing bowl and add the softened cream cheese. Use a spoon or spatula to mix everything together until a thick dough forms. Take your time during this step and make sure the cream cheese is fully blended with the crumbs. The mixture should look smooth and hold together easily when pressed.
Step 3: Shape the Oreo Balls
Scoop small portions of the mixture and roll them between your hands to create balls about one inch in diameter. Place each ball onto a parchment lined baking sheet. Once all the balls are formed, place the tray in the refrigerator for about thirty minutes so they can firm up.
Step 4: Dip in White Chocolate
Melt the white chocolate or candy melts in a microwave safe bowl. Heat in short intervals of about twenty seconds, stirring between each round until the chocolate becomes smooth and glossy.
Using a fork or dipping tool, lower each chilled Oreo ball into the melted chocolate. Roll it gently so the coating covers the entire surface. Lift it out and allow any excess chocolate to drip off before placing it back onto the parchment paper.
Step 5: Create the Bunny Ears
Take mini marshmallows and cut them diagonally with a knife. The cut side will become the inside of the bunny ear. Dip that sticky side into pink sugar sprinkles to give the ears a soft pink center.
While the chocolate coating is still slightly soft, press two marshmallow pieces onto the top of each Oreo ball to create the bunny ears.
Step 6: Add the Bunny Face
Melt the pink and black candy melts separately. Use a toothpick or small piping bag to add a tiny pink nose to the front of each bunny.
Next, use the black candy melts or an edible marker to draw the eyes and whiskers. This is the part where you can have fun and give each bunny its own little personality.
Step 7: Let Everything Set
Allow the decorated Bunny Oreo Balls to sit at room temperature or in the refrigerator until the chocolate and decorations fully set. Once firm, they are ready to serve.
Tips for Making the Best Bunny Oreo Balls
• Make sure the cream cheese is softened before mixing. This helps it blend smoothly with the cookie crumbs.
• Chill the Oreo balls before dipping them in chocolate. This step helps them keep their shape.
• If the melted chocolate feels too thick, stir in a small teaspoon of coconut oil to thin it out.
• Work with a few Oreo balls at a time while dipping so the rest stay chilled and firm.
• Attach the marshmallow ears while the coating is still slightly wet so they stick naturally.
Storage Instructions
Bunny Oreo Balls should be stored in an airtight container in the refrigerator. They stay fresh for about five days and taste best when served slightly chilled.
If you want to prepare them ahead of time, you can freeze them in a sealed container for up to two months. Let them sit at room temperature for several minutes before serving so the texture softens.
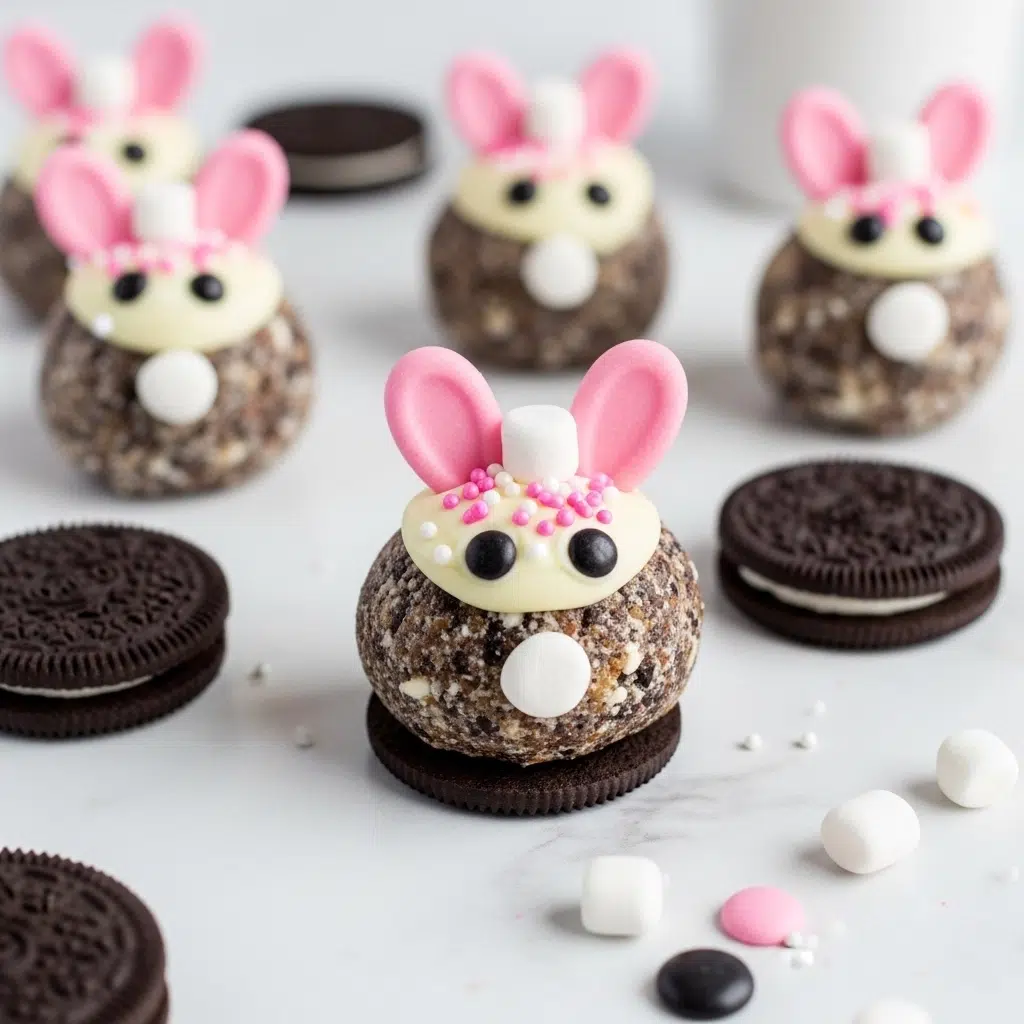
General Information
Oreo truffles became popular because they are one of the easiest desserts to make at home. With only a few ingredients and no baking required, they quickly became a favorite for holidays and parties.
The bunny version adds a playful Easter theme to this classic treat. The bunny design reflects the cheerful spirit of spring celebrations, and the decorating process makes the recipe even more enjoyable.
Families often turn Bunny Oreo Balls into a fun kitchen activity where kids help roll the balls, dip them in chocolate, and decorate each bunny face.
FAQs
Can I make Bunny Oreo Balls in advance?
Yes. They can be made two to three days ahead and stored in the refrigerator until you are ready to serve them.
Do I need to remove the Oreo filling before crushing the cookies?
No. Use the entire cookie including the cream filling. It helps create the perfect texture for the truffle mixture.
Why are my Oreo balls falling apart when dipping them?
This usually happens when they are not chilled long enough. Refrigerate them for at least thirty minutes so they become firm.
Can I freeze Bunny Oreo Balls?
Yes. Place them in a sealed container and freeze for up to two months. Let them thaw slightly before serving.
Conclusion
Bunny Oreo Balls are one of those desserts that bring both fun and flavor to the table. They are creamy, chocolatey, and irresistibly cute, which makes them perfect for Easter celebrations and spring gatherings.
The best part is how simple they are to make. With only a few ingredients and a little creativity, you can create a dessert that looks impressive and tastes amazing.
If you enjoyed this recipe and want even more delicious inspiration, follow me on Pinterest: https://www.pinterest.com/AngelinaCooking/
Print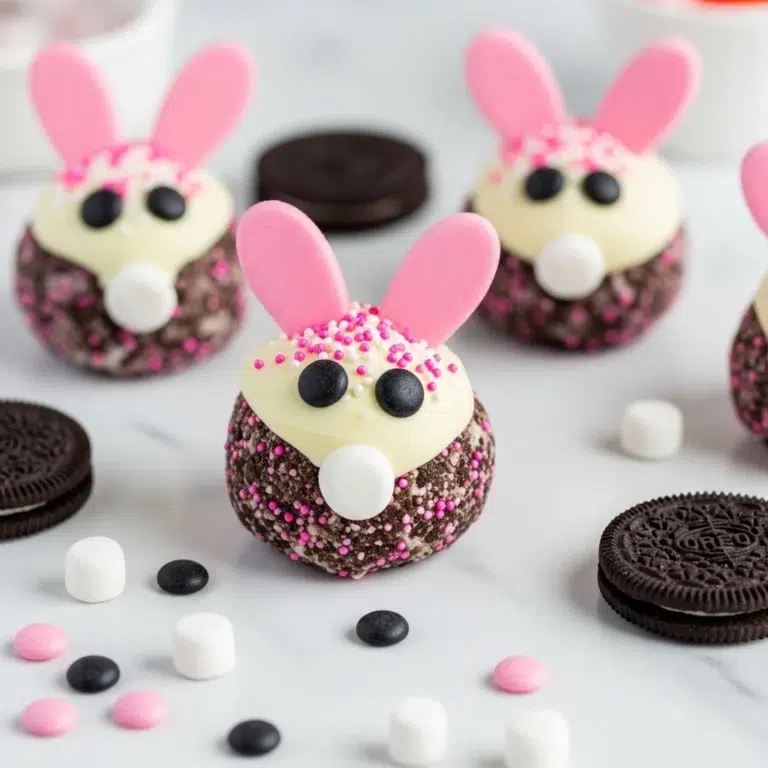
Bunny Oreo Balls Recipe
These Bunny Oreo Balls are an adorable, no-bake Easter treat! Featuring a rich cookies-and-cream center and a crisp white chocolate shell, they are decorated with marshmallow ears and sweet facial details to look like festive spring bunnies.
- Total Time: 75 minutes
- Yield: 24 balls 1x
Ingredients
- 1 package (14.3 oz) Oreo cookies
- 8 oz cream cheese, softened
- 12 oz white chocolate or candy melts
- 1/2 cup pink candy melts
- 1/2 cup black candy melts
- Mini marshmallows (for bunny ears)
- Pink sugar sprinkles (optional)
- Black edible food marker
Instructions
1. Crush Oreo cookies into fine crumbs. In a medium bowl, mix crumbs with softened cream cheese until a uniform dough forms.
2. Roll the mixture into 1-inch balls. Place on a parchment-lined sheet and refrigerate for 30 minutes to firm up.
3. Melt white chocolate in 20-second intervals until smooth. Dip each chilled ball into the chocolate to coat evenly; return to parchment paper.
4. While the coating is still tacky, cut mini marshmallows diagonally, dip the sticky side in pink sprinkles, and press onto the top of the balls for ears.
5. Once set, use melted pink and black candy melts (or an edible marker) to draw the nose, whiskers, and eyes.
6. Let set completely and store in the refrigerator until ready to serve.
Notes
Ensure cream cheese is at room temperature for a smooth, lump-free filling.
If the melted chocolate is too thick for dipping, stir in 1 teaspoon of coconut oil or shortening.
Store in an airtight container in the fridge for up to 5 days or freeze for up to 2 months.
For a dairy-free version, use dairy-free cream cheese and chocolate alternatives.
- Prep Time: 45 minutes
- Cook Time: 0 minutes
- Category: Dessert
- Method: No-Bake
- Cuisine: American
- Diet: Vegetarian
Nutrition
- Serving Size: 1 ball
- Calories: 140
- Sugar: 12g
- Sodium: 75mg
- Fat: 8g
- Saturated Fat: 5g
- Unsaturated Fat: 2g
- Trans Fat: 0g
- Carbohydrates: 16g
- Fiber: 0.5g
- Protein: 1g
- Cholesterol: 10mg
Keywords: Bunny Oreo Balls, Easter Oreo truffles, no-bake Easter treats, kids Easter snacks, chocolate bunny balls