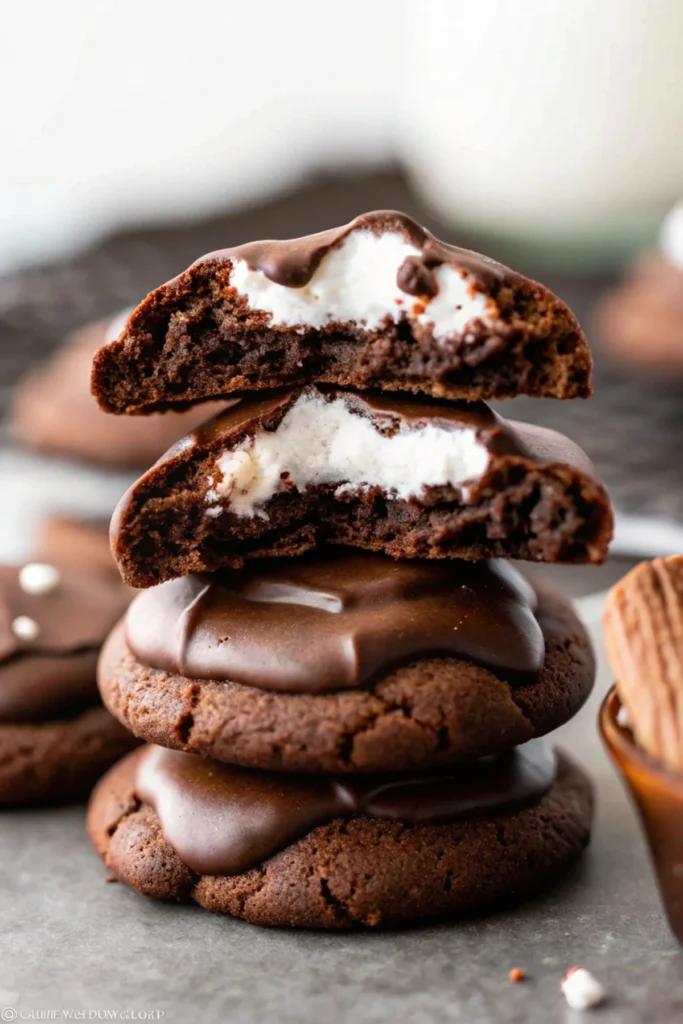
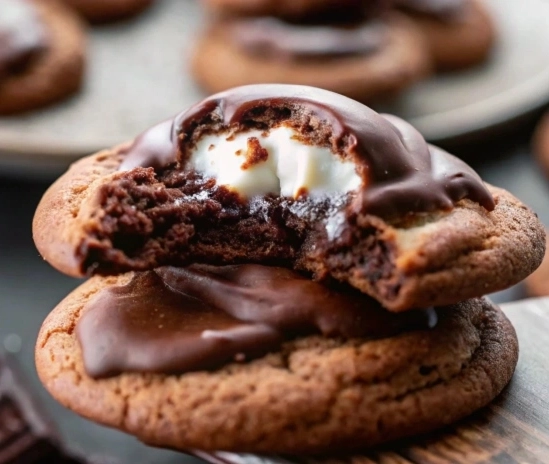
When the temperature drops and cozy sweaters come out of storage, many of us find ourselves craving something sweet and comforting. Hot cocoa is a classic choice for warming up on cold days, with its rich, chocolatey flavor and those delightful marshmallows floating on top. Now, picture transforming all the best parts of this wintertime staple into a decadent cookie that practically melts in your mouth. Introducing Marshmallow-Surprise Hot Cocoa Cookies—soft, chewy chocolate cookies infused with hot cocoa mix, topped with gooey marshmallows, and finished with a layer of melted chocolate. They’re the perfect treat to bring a dose of comfort and nostalgia to your kitchen!
In this article, we’ll guide you through the entire process of making these crowd-pleasing cookies. You’ll learn how to prepare the dough, chill it, bake it, and finally crown each cookie with a pillowy marshmallow center and smooth chocolate coating. Along the way, we’ll share useful tips for ensuring your cookies turn out flawlessly, suggest fun variations to suit any occasion, offer storage recommendations, and inspire you with a few creative serving ideas. So, gather your ingredients and let’s embark on this cozy baking adventure!
1. Why You’ll Love These Cookies
A Nostalgic Twist: These cookies perfectly capture the essence of a steaming mug of hot cocoa. Each bite delivers a burst of chocolate flavor followed by a sweet marshmallow surprise in the center. It’s like sipping on your favorite winter beverage, but in cookie form.
Kid-Friendly and Crowd-Pleasing: Children adore the gooey marshmallows and drizzle of chocolate. Meanwhile, adults appreciate the rich flavor profile and comforting nostalgia. Make a batch for a holiday party, a cookie exchange, or just to brighten up a dreary winter afternoon.
Versatile and Customizable: Whether you prefer dark chocolate over semi-sweet, want to add a hint of minty flair, or dream of a salted caramel twist, there are countless ways to tailor these cookies to your tastes. It’s a recipe that inspires creativity!
Easy to Bake and Store: The dough comes together quickly and can be made ahead of time. This makes them ideal for holiday prep or anytime you’re expecting guests and need a treat that will wow everyone.

2. Recipe Overview
Prep Time: Approximately 2 hours 40 minutes (includes 2 hours of chilling)
Cook Time: 12 minutes
Total Time: 3 hours
Yield: 20–22 cookies
Category: Dessert / Cookies
Method: Baking
Cuisine: American-inspired
Diet: Vegetarian (with an option for dairy-free or vegan, if you use plant-based butter and vegan marshmallows)
Keywords: hot cocoa cookies, marshmallow cookies, chocolate cookies, winter treats, cozy desserts, holiday baking
Equipment You’ll Need:
- Stand mixer or handheld mixer (plus a large mixing bowl)
- Medium mixing bowl
- Whisk
- Rubber spatula or wooden spoon
- Baking sheets (at least two)
- Parchment paper or silicone baking mats
- Wire cooling rack
- Microwave-safe bowl or double boiler
3. Ingredients and Measurements
Below is the full list of ingredients you’ll need to whip up a batch of these delectable cookies. Pay attention to the measurements, as precise quantities help ensure consistent results.
- Unsalted butter, softened to room temperature: ½ cup (113g)
- Granulated sugar: ½ cup (100g)
- Packed light or dark brown sugar: ½ cup (100g)
- Large egg, at room temperature: 1
- Pure vanilla extract: 1 teaspoon
- All-purpose flour: 1½ cups (188g)
- Natural unsweetened cocoa powder: ⅓ cup (27g)
- Dry hot cocoa mix (avoid those with mini marshmallows): ¼ cup (40g)
- Baking soda: 1 teaspoon
- Salt: ⅛ teaspoon
- Milk (dairy or nondairy): 2 teaspoons (10ml)
- Large marshmallows, cut in half: 10–11
- Semi-sweet chocolate, finely chopped: 8 ounces (226g)
Note: It’s crucial to use a hot cocoa mix without extra mini marshmallows. If you only have a mix with them, remove or strain out the tiny marshmallows so they don’t interfere with the dough’s texture.
4. Step-by-Step Instructions
Baking these cookies involves a few key steps: preparing the dough, chilling it, baking them with marshmallows, and finally, adding a smooth chocolate topping. Let’s explore each stage in detail so you feel confident at every step.
Prepare the Dough
- Cream Butter and Sugars
- In a large bowl (or in a stand mixer fitted with the paddle attachment), combine ½ cup (113g) softened unsalted butter, ½ cup (100g) granulated sugar, and ½ cup (100g) packed brown sugar.
- Beat on medium-high speed for 2–3 minutes, until the mixture is pale and fluffy. This step incorporates air into the butter, helping achieve a soft, chewy cookie texture later.
- Add Egg and Vanilla
- Crack 1 large egg into the bowl, then add 1 teaspoon pure vanilla extract.
- Beat on high speed until the mixture is fully combined, scraping down the sides of the bowl as needed to ensure everything is well-incorporated.
- The dough should look smooth and glossy at this point.
- Combine Dry Ingredients
- In a separate medium mixing bowl, whisk together:
- 1½ cups (188g) all-purpose flour
- ⅓ cup (27g) natural unsweetened cocoa powder
- ¼ cup (40g) dry hot cocoa mix
- 1 teaspoon baking soda
- ⅛ teaspoon salt
- Ensure no lumps of flour or cocoa remain. Whisking thoroughly helps distribute the leavening agent (baking soda) evenly throughout the flour.
- In a separate medium mixing bowl, whisk together:
- Incorporate Dry Mixture into Wet
- Turn your mixer to low speed.
- Gradually add the whisked dry ingredients to the butter-sugar mixture.
- Mix just until combined—overmixing can lead to tougher cookies.
- Add Milk
- Finally, pour in 2 teaspoons (10ml) of milk (dairy or nondairy, depending on your preference).
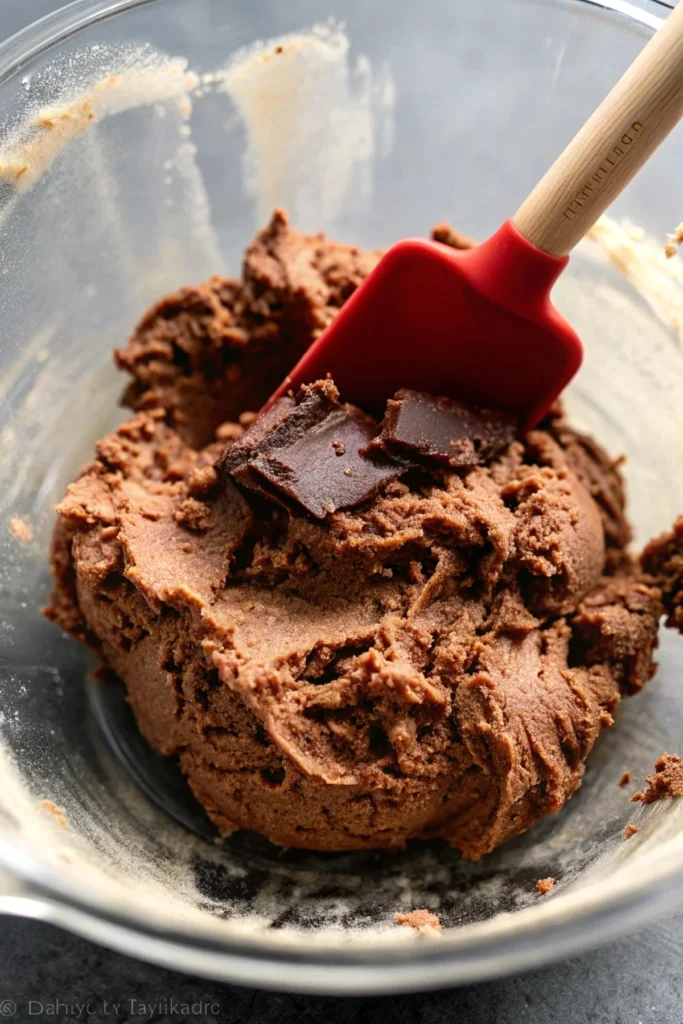
- Mix on low speed. The dough will appear thick and somewhat sticky, which is perfect for this recipe.
Chill the Dough
- Cover and Refrigerate
- Once your dough is ready, cover it tightly with plastic wrap or a reusable cover.
- Place it in the refrigerator for at least 2 hours, and up to 3 days.
- Chilling prevents the dough from spreading too much during baking and allows the flavors to deepen.
- Why Chilling Matters
- The rest period gives the dry ingredients time to fully absorb the liquid.
- You’ll notice that chilled dough often bakes up thicker and chewier, which is exactly what we want for these hot cocoa cookies.

Bake and Add Marshmallows
- Preheat and Prep Pans
- Preheat your oven to 350°F (177°C).
- Line two large baking sheets with parchment paper or silicone baking mats.
- Remove the dough from the refrigerator.
- Shape the Cookies
- Using a cookie scoop or tablespoon, portion heaping tablespoon-sized balls of dough (approximately 25–26g each).
- Roll each piece into a round ball between your palms and place them on the prepared baking sheets, leaving 2–3 inches of space between cookies.
- First Bake
- Slide the baking sheets into the oven and bake the cookies for 10 minutes.
- At this point, the edges should begin to set, while the centers remain slightly underdone.
- Marshmallow Time
- Remove the cookies from the oven and lightly press a halved marshmallow into the top of each cookie (cut side down).
- Return the cookies to the oven for 2 more minutes.
- The marshmallow will puff up and soften during this brief additional bake.
- Flatten Marshmallows
- After you remove the cookies from the oven, use the back of a spoon to gently flatten the marshmallow so it adheres nicely to the cookie.
- Let the cookies cool on the baking sheets for 10 minutes, then transfer them to a wire rack to cool completely before adding the chocolate topping.
Add the Chocolate Topping
- Melt the Chocolate
- In a microwave-safe bowl, combine 8 ounces (226g) finely chopped semi-sweet chocolate.
- Microwave in 20-second intervals, stirring well after each interval, until the chocolate is completely melted and smooth.
- Alternatively, use a double boiler by placing a heatproof bowl over a pot of gently simmering water.
- Top the Cookies
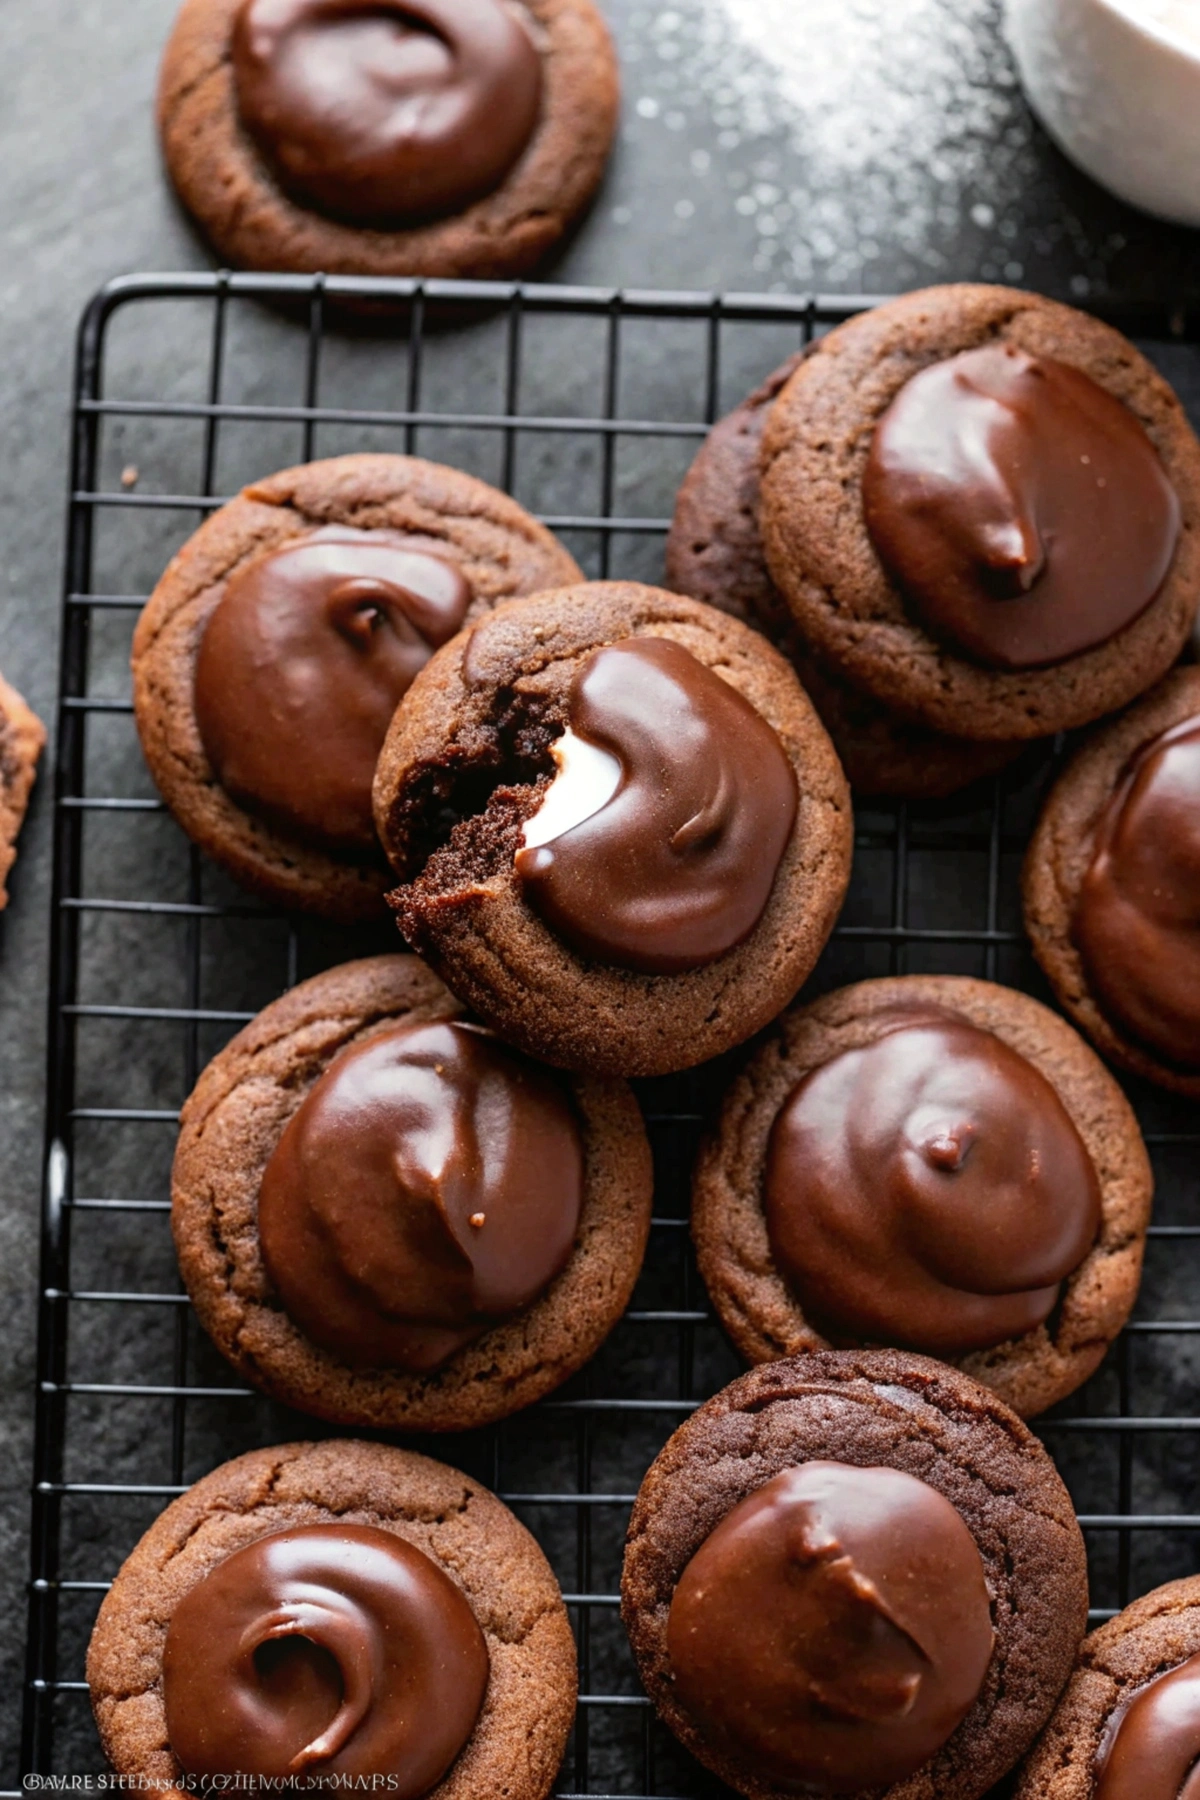
- Spoon the melted chocolate over each marshmallow-topped cookie, fully covering the marshmallow.
- Use the back of a spoon to spread the chocolate evenly.
- Set and Serve
- Allow the chocolate to set at room temperature for about 30–60 minutes.
- If you’re in a hurry, place the cookies in the refrigerator to speed up the setting process.
- Once the chocolate is firm, your Marshmallow-Surprise Hot Cocoa Cookies are ready to be devoured!
5. Tips for Perfecting the Dish
- Use Quality Cocoa Products
The flavor of chocolate is the star here, so be sure to use a quality cocoa powder and a good-tasting hot cocoa mix. High-quality ingredients result in a more indulgent, robust chocolate flavor. - Room-Temperature Butter and Egg
Make sure your butter is softened but not melted, and that your egg is at room temperature. Cold butter won’t cream as efficiently with the sugars, and a cold egg can cause the dough to seize up. - Don’t Overmix
Once you add the dry ingredients to the wet, mix just until everything is incorporated. Overmixing develops gluten, which can make cookies tougher. - Chill for Thicker Cookies
Chilling the dough is non-negotiable for preventing excessive spread. It also concentrates the flavors, making each bite more chocolatey. - Watch the Baking Time
Chocolate cookies can be tricky to judge by color. Keep an eye on the clock: 10 minutes initially, plus 2 extra minutes after adding marshmallows, is usually just right. Overbaking can cause dryness. - Flatten Marshmallows Gently
After the second bake, gently pressing the marshmallows spreads them slightly, ensuring the chocolate topping won’t just slip off. - Cool Before Adding Chocolate
Ensure cookies are no longer warm before adding the melted chocolate. Otherwise, the chocolate could pool off the marshmallow or lose its luster.
6. Variations
- Peppermint Hot Cocoa Cookies
- Add a ¼ teaspoon peppermint extract to the dough.
- Top with crushed candy canes over the melted chocolate for a refreshing mint-chocolate experience perfect for the holidays.
- Caramel Marshmallow Surprise
- Drizzle a little caramel sauce over the marshmallow before adding the chocolate.
- Sprinkle with a pinch of sea salt for an irresistible salted caramel twist.
- Nutty Chocolate Crunch
- Fold ½ cup of chopped nuts (such as pecans, walnuts, or hazelnuts) into the dough.
- The crunchy texture provides a lovely contrast to the gooey marshmallow.
- White Chocolate Drizzle
- Melt 2–3 ounces of white chocolate and drizzle it over the semi-sweet chocolate layer.
- Creates a beautiful, swirled pattern and adds a hint of creamy sweetness.
- Dark Chocolate Indulgence
- Substitute 70% or higher dark chocolate for the semi-sweet chocolate to intensify the chocolate flavor.
- This version appeals to those who love a slight bittersweet edge in their cookies.
These variations allow you to tweak the recipe for different occasions, holidays, or personal preferences. Don’t be afraid to mix and match ideas—peppermint caramel hot cocoa cookies, anyone?
7. Conservation and Storage
- Storing at Room Temperature
- Once the chocolate topping is set, transfer cookies to an airtight container.
- Keep them at room temperature for up to 1 week.
- Layer parchment paper between the cookies to avoid them sticking to each other.
- Refrigeration
- If your home is particularly warm or you prefer a firmer marshmallow and chocolate top, store the cookies in the refrigerator.
- They’ll keep well for about 10 days in the fridge, though the marshmallow texture may become slightly chewier.
- Freezing the Dough
- To save time down the road, portion out the dough into balls before baking and place them on a parchment-lined sheet.
- Freeze them until solid, then transfer the dough balls to a freezer-safe bag or container.
- They’ll stay fresh for 3 months in the freezer. Thaw in the refrigerator overnight before baking.
- Freezing the Finished Cookies
- You can also bake the cookies without the marshmallow and chocolate topping, then freeze them.
- When ready to serve, thaw, warm them in the oven for a few minutes, add the marshmallows and chocolate topping, and proceed as directed.
- This method prevents the marshmallows from getting tough or sticky during long-term storage.
8. Serving Suggestions
- Pair with a Steamy Mug of Hot Cocoa
- Reinforce the hot cocoa theme by serving these cookies alongside an actual mug of hot cocoa topped with whipped cream or extra marshmallows.
- This double-chocolate effect is the ultimate cozy winter indulgence.
- Cookie Platters and Gift Boxes
- Arrange them on a festive holiday platter with other seasonal favorites like peppermint bark, gingerbread cookies, or sugar cookies.
- Wrap them in decorative tins or cellophane bags tied with a ribbon for an adorable homemade gift.
- Cookie Sandwiches with Ice Cream
- Take two cookies and sandwich a scoop of ice cream (vanilla, chocolate, or peppermint) between them.
- The cold ice cream contrasts wonderfully with the rich, chocolatey cookies.
- Late-Night Treat
- Warm a cookie for a few seconds in the microwave if you want that freshly melted marshmallow experience.
- Pair with a glass of cold milk or almond milk for a satisfying bedtime snack.
- Holiday Party or Cookie Exchange
- Impress your guests at holiday gatherings or cookie swap parties.
- People will delight in biting into these cookies and discovering the secret marshmallow pocket inside.

9. Nutrition and Additional Info
Below is an approximate nutritional breakdown per cookie, based on making about 20–22 cookies:
- Serving Size: 1 cookie
- Calories: ~160–180
- Sugar: ~15g
- Sodium: ~60–80mg
- Fat: ~7–8g
- Saturated Fat: ~4–5g
- Unsaturated Fat: ~2–3g
- Trans Fat: 0g (assuming no trans fats in your butter)
- Carbohydrates: ~22g
- Fiber: ~1–2g
- Protein: ~2–3g
- Cholesterol: ~15–20mg
Remember, these values can vary based on the specific brands and types of cocoa mix, chocolate, and other ingredients you use. If you’re interested in reducing sugar, you can experiment with lower-sugar hot cocoa mixes, alternative sweeteners, or dark chocolate with a higher cacao percentage.
For those with dietary restrictions:
- Dairy-Free or Vegan: Use a plant-based butter substitute, nondairy milk, and vegan marshmallows (which typically use agar or another gelling agent instead of gelatin).
- Gluten-Free: Substitute a trusted 1:1 gluten-free baking flour blend for the all-purpose flour, ensuring it contains xantham gum or another binding agent to keep the cookies from crumbling.
10. Conclusion
Marshmallow-Surprise Hot Cocoa Cookies encapsulate the cozy, comforting spirit of winter. By blending the classic flavors of a cup of hot cocoa—rich chocolate and pillowy marshmallows—into a soft-baked cookie, you’ll create a dessert that warms both heart and home. The key steps—creaming the butter and sugars, adding just the right amount of hot cocoa mix, chilling the dough, and topping each cookie with marshmallows and chocolate—come together to produce a whimsical treat that is delightfully nostalgic.
With the detailed instructions above, you have everything you need to make these cookies your own. Whether you choose to add a peppermint twist, drizzle a little caramel, or go bold with dark chocolate, the end result will be irresistibly comforting and decadent. Serve them fresh from the oven with a cup of cocoa, dress them up for a holiday party, or stash them away in the fridge for late-night cravings. Their delightful marshmallow surprise and indulgent chocolate flavor ensure they’ll be a memorable addition to any winter gathering.
So, gather your loved ones, pop on your favorite holiday playlist, and roll up your sleeves. It’s time to bring the essence of hot cocoa into a sweet, shareable treat. With each bite of these Marshmallow-Surprise Hot Cocoa Cookies, you’ll be reminded of the simple joy of wintertime snacking—where the biggest dilemma is whether to have just one more cookie or go ahead and pour yourself another cup of hot cocoa, too. Enjoy, stay warm, and happy baking!
Print
Marshmallow-Surprise Hot Cocoa Cookies
- Total Time: 3 hours
- Yield: 20–22 cookies
Description
When the temperature drops and cozy sweaters come out of storage, many of us find ourselves craving something sweet and comforting. Hot cocoa is a classic choice for warming up on cold days, with its rich, chocolatey flavor and those delightful marshmallows floating on top. Now, picture transforming all the best parts of this wintertime staple into a decadent cookie that practically melts in your mouth. Introducing Marshmallow-Surprise Hot Cocoa Cookies—soft, chewy chocolate cookies infused with hot cocoa mix, topped with gooey marshmallows, and finished with a layer of melted chocolate. They’re the perfect treat to bring a dose of comfort and nostalgia to your kitchen!
Ingredients
- Unsalted butter, softened to room temperature: ½ cup (113g)
- Granulated sugar: ½ cup (100g)
- Packed light or dark brown sugar: ½ cup (100g)
- Large egg, at room temperature: 1
- Pure vanilla extract: 1 teaspoon
- All-purpose flour: 1½ cups (188g)
- Natural unsweetened cocoa powder: ⅓ cup (27g)
- Dry hot cocoa mix (avoid those with mini marshmallows): ¼ cup (40g)
- Baking soda: 1 teaspoon
- Salt: ⅛ teaspoon
- Milk (dairy or nondairy): 2 teaspoons (10ml)
- Large marshmallows, cut in half: 10–11
- Semi-sweet chocolate, finely chopped: 8 ounces (226g)
Instructions
Prepare the Dough
-
Cream Butter and Sugars
- In a large bowl (or in a stand mixer fitted with the paddle attachment), combine ½ cup (113g) softened unsalted butter, ½ cup (100g) granulated sugar, and ½ cup (100g) packed brown sugar.
- Beat on medium-high speed for 2–3 minutes, until the mixture is pale and fluffy. This step incorporates air into the butter, helping achieve a soft, chewy cookie texture later.
-
Add Egg and Vanilla
- Crack 1 large egg into the bowl, then add 1 teaspoon pure vanilla extract.
- Beat on high speed until the mixture is fully combined, scraping down the sides of the bowl as needed to ensure everything is well-incorporated.
- The dough should look smooth and glossy at this point.
-
Combine Dry Ingredients
- In a separate medium mixing bowl, whisk together:
- 1½ cups (188g) all-purpose flour
- ⅓ cup (27g) natural unsweetened cocoa powder
- ¼ cup (40g) dry hot cocoa mix
- 1 teaspoon baking soda
- ⅛ teaspoon salt
- Ensure no lumps of flour or cocoa remain. Whisking thoroughly helps distribute the leavening agent (baking soda) evenly throughout the flour.
- In a separate medium mixing bowl, whisk together:
-
Incorporate Dry Mixture into Wet
- Turn your mixer to low speed.
- Gradually add the whisked dry ingredients to the butter-sugar mixture.
- Mix just until combined—overmixing can lead to tougher cookies.
-
Add Milk
- Finally, pour in 2 teaspoons (10ml) of milk (dairy or nondairy, depending on your preference).
- Mix on low speed. The dough will appear thick and somewhat sticky, which is perfect for this recipe.
Notes
Note: It’s crucial to use a hot cocoa mix without extra mini marshmallows. If you only have a mix with them, remove or strain out the tiny marshmallows so they don’t interfere with the dough’s texture.
- Prep Time: Approximately 2 hours 40 minutes (includes 2 hours of chilling)
- Cook Time: 12 minutes
- Category: Dessert / Cookies
- Method: Baking
- Cuisine: American-inspired
Nutrition
- Serving Size: 1 cookie
- Calories: ~160–180
- Sugar: ~15g
- Sodium: ~60–80mg
- Fat: ~7–8g
- Saturated Fat: ~4–5g
- Unsaturated Fat: ~2–3g
- Trans Fat: 0g (assuming no trans fats in your butter)
- Carbohydrates: ~22g
- Fiber: ~1–2g
- Protein: ~2–3g
- Cholesterol: 15–20mg
Keywords: Vegetarian (with an option for dairy-free or vegan, if you use plant-based butter and vegan marshmallows)

