Creating heart-shaped cupcakes is a fun and festive way to celebrate special occasions like Valentine’s Day, anniversaries, or even just as a surprise treat for someone you love. You don’t need a special pan to make these adorable cupcakes, and with a few easy tricks, you can turn any ordinary cupcake into a heart-shaped delight.
Materials You’ll Need
- Muffin tin
- Cupcake liners
- Aluminum foil or marbles
- Cupcake ingredients (as per your preferred recipe)
- Frosting and decorations
Before you start, gather the tools and ingredients. For best results, use high-quality ingredients to ensure your cupcakes bake perfectly. If you’re looking for healthier options, you can try recipes from delicious gluten-free dessert recipes, which offer a variety of tasty yet allergy-friendly alternatives.
Step-by-Step Guide to Making Cupcake Hearts

1. Prepare Your Muffin Tin
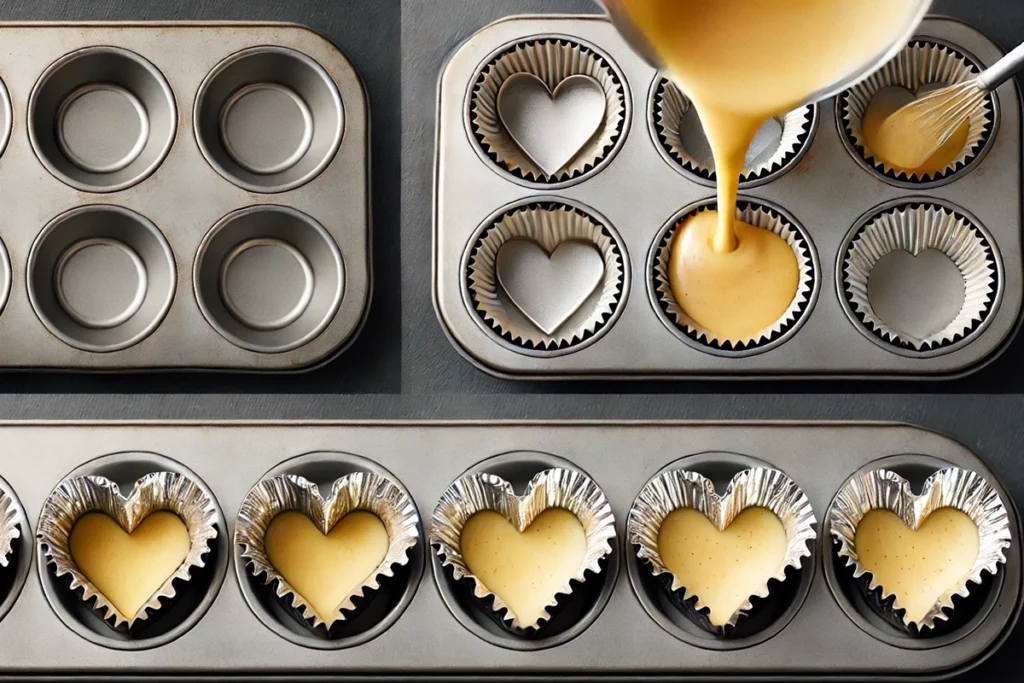
First, line your muffin tin with cupcake liners. The trick to shaping the cupcakes into hearts without a special mold is using marbles or small balls of aluminum foil.
- Place a marble or a small ball of foil between the liner and the side of the muffin tin. The marble will press into the batter as it bakes, forming the characteristic heart shape.
- Ensure the foil or marble is securely placed so it doesn’t shift when you pour the batter in.
For an easy guide on how to make this work effectively, you can follow similar hacks used for heart-shaped cakes. These techniques can be adapted easily for cupcakes.
2. Mix the Batter
Choose your favorite cupcake recipe—whether it’s vanilla, red velvet, or chocolate. You can even try gluten-free versions for a healthier twist. Follow the recipe instructions for making the batter. If you’re not sure which recipe to use, check out some simple gluten-free desserts from this guide.
Make sure the batter is not too thick, as it needs to fill in the shape formed by the foil or marbles.
3. Bake the Cupcakes
Once your muffin tin is prepared, preheat the oven to the recommended temperature for your recipe. Fill each cupcake liner two-thirds full with batter, ensuring the marbles stay in place to maintain the heart shape.
- Bake according to your recipe’s instructions, but keep an eye on the cupcakes to avoid over-baking.
- When done, a toothpick inserted into the center should come out clean. Allow the cupcakes to cool before removing them from the pan.

Decorating Your Heart Cupcakes
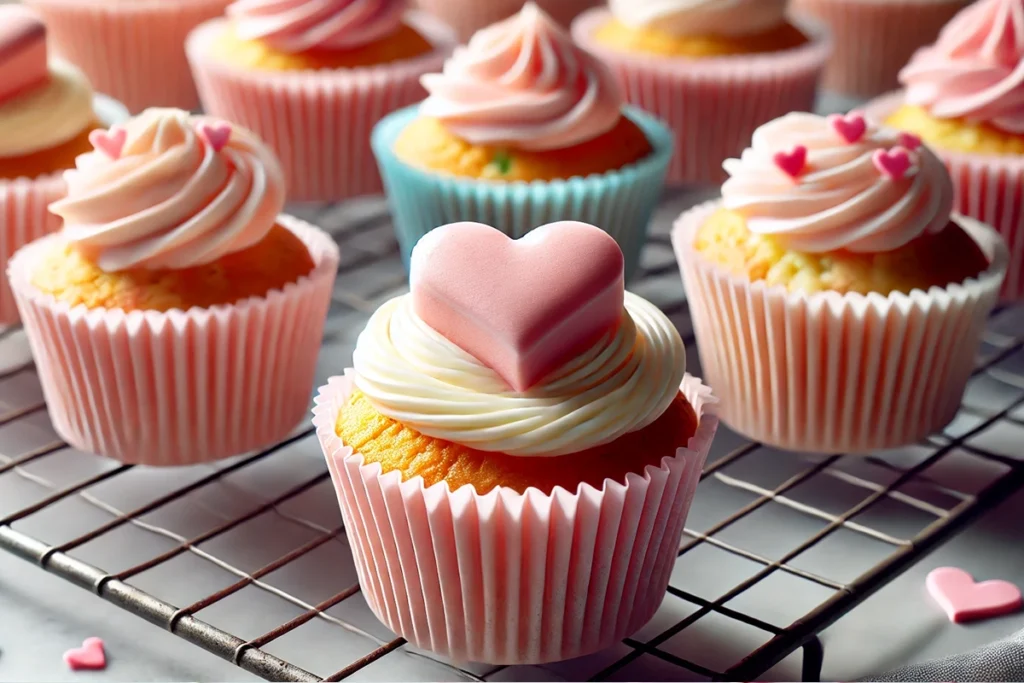
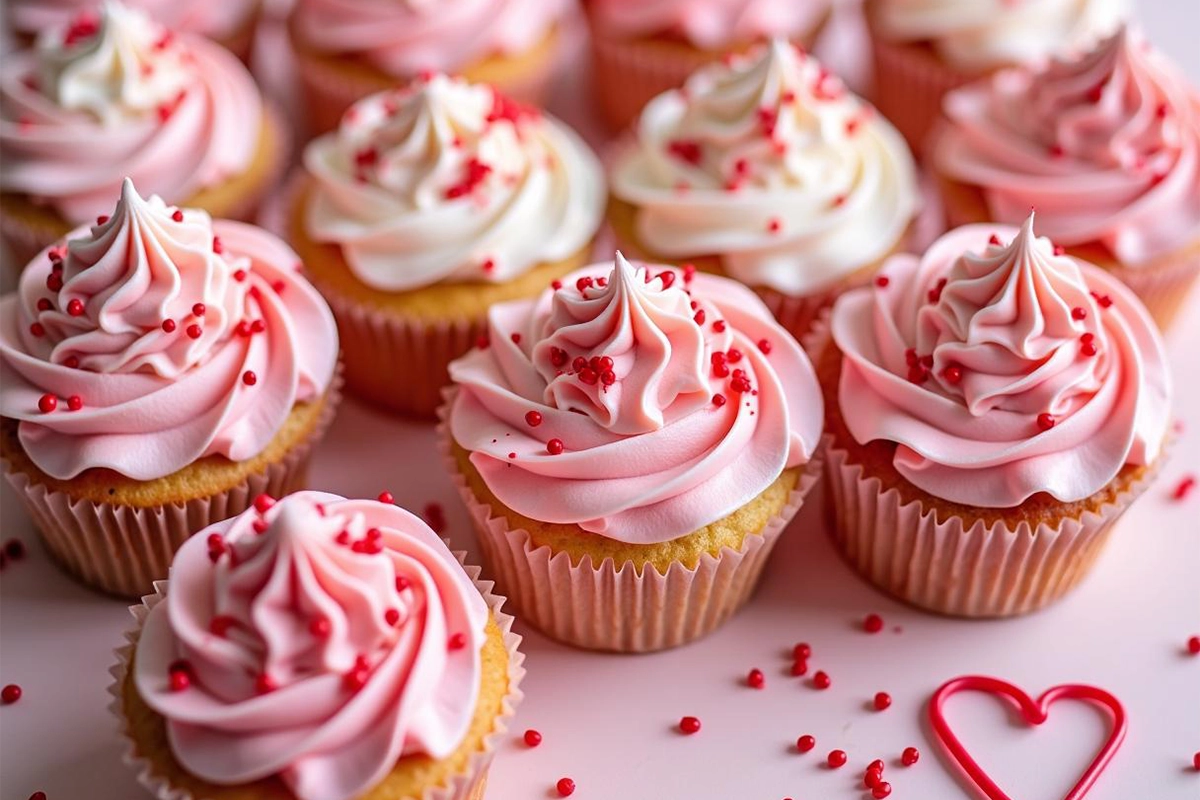
Once your cupcakes have cooled, it’s time to decorate them. Frosting is key to making your heart cupcakes stand out. You can use buttercream, whipped cream, or cream cheese frosting. Try using a piping bag with different tips to create intricate designs.
1. Frosting Techniques
- Start by applying a base layer of frosting with a spatula. Smooth it out and let it set for a few minutes.
- Using a piping bag, pipe around the edges to emphasize the heart shape. You can use contrasting colors like red, pink, and white to enhance the design.
For further inspiration on how to perfect your frosting skills, check out this guide on frosting cupcakes.
2. Decorating with Sprinkles and Edible Decorations
Add some flair with heart-shaped sprinkles, edible glitter, or sugar pearls. These decorations can really make your cupcakes pop and are perfect for themed parties or events.

Filling Ideas for a Surprise Inside
One fun variation of these cupcakes is adding a filling in the center. This not only adds an extra layer of flavor but also gives the cupcakes an even more festive feel.
1. Fruit Fillings
You can add a fruity surprise by filling your cupcakes with strawberry jam, raspberry preserves, or even lemon curd. Simply cut out a small circle from the center of the cooled cupcakes, fill with your chosen filling, and replace the top before frosting.
2. Cream Fillings
For a more indulgent touch, try filling your heart cupcakes with whipped cream or chocolate ganache. These rich fillings complement any cupcake flavor and are sure to delight your guests.
If you’re looking for more dessert ideas, you can browse through some 5-star gluten-free dessert recipes for inspiration on fillings and other customization options.
Serving and Presentation Tips
Now that your cupcakes are ready, it’s time to think about presentation. Whether you’re serving them at a party or giving them as a gift, the way you present your cupcakes can add an extra level of charm.
- Arrange your cupcakes on a cake stand or tiered platter for an elegant presentation.
- If you’re gifting them, package the cupcakes in a decorative box with a clear lid, and tie a ribbon around it for a personalized touch.
- For parties, you can serve them alongside other Valentine’s Day-themed treats or even add a few candles for an extra romantic feel.
FAQs: How to Make Cupcake Hearts
Q: Do I need a special pan to make heart-shaped cupcakes?
A: No, you don’t need a special pan! You can use a regular muffin tin and place marbles or balls of aluminum foil between the liner and tin to create a heart shape.
Q: Can I make these cupcakes gluten-free?
A: Absolutely! You can easily adapt the recipe to be gluten-free by using gluten-free flour or following a gluten-free dessert recipe. If you’re new to gluten-free baking, check out this comprehensive guide.
Q: How do I store heart-shaped cupcakes?
A: Store them in an airtight container at room temperature for up to three days, or in the fridge for up to a week. If you want to keep them longer, they can also be frozen—just be sure to wrap them well in plastic wrap before placing them in a freezer-safe container.
Conclusion of Cupcake Hearts
Making cupcake hearts is easier than you think and requires no special equipment. Whether you’re baking for a special occasion or just for fun, these cupcakes are sure to bring smiles to anyone who sees—and tastes—them. The key is to have fun with the process, experiment with different flavors, and get creative with decorations.

